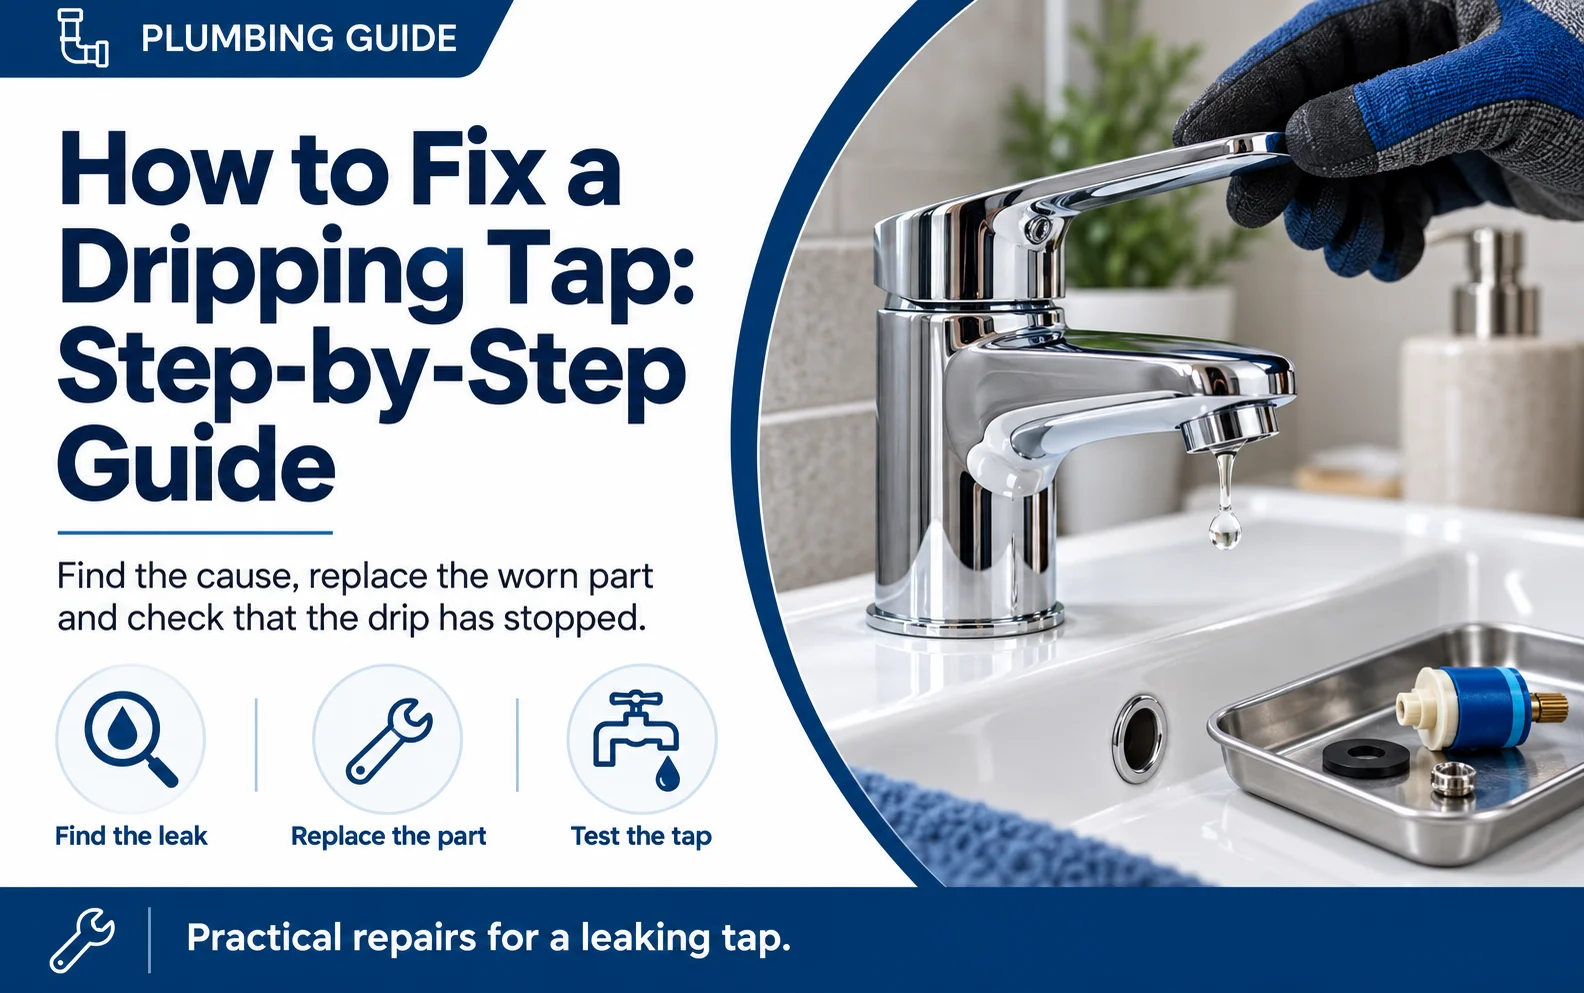
A dripping tap usually starts with a small leak, but it can quickly become a frustrating problem when water keeps dripping even after you have fully turned the tap off. A leaking tap can waste water, increase your bills and gradually develop into a bigger plumbing issue if you leave it untreated. The cause depends on the type of tap, where the water is escaping and the condition of the internal mechanism. Fixing the problem starts with identifying the type of tap you have and finding the part that is causing the leak. Some dripping taps only need a simple replacement part, but others may require a more detailed repair if the internal components have worn or deteriorated. At FixWell Plumbing, we provide professional tap repairs and plumbing services across Ealing and nearby West London. We often help homeowners identify what is causing a dripping tap, understand which repairs are suitable and recognise when the problem needs professional attention.
Key Takeaways
- The common causes of a dripping or leaking tap include worn washers, damaged O-rings, faulty cartridges, worn valve seats and limescale build-up.
- The source of a dripping tap can usually be found by checking whether the water is coming from the spout, handle, base or pipe connections.
- Fixing a dripping tap usually requires basic tools and the correct replacement washer, O-ring or cartridge for the tap.
- A leaking or dripping tap can often be fixed by turning off the water, replacing the worn internal part, reassembling the tap and testing it for leaks.
- If a tap still drips after replacing the washer or cartridge, the valve seat, seals, fitting, or another internal component may also be damaged.
What Are the Common Causes of a Dripping or Leaking Tap?
The most common causes of a dripping tap are a worn washer, faulty cartridge, damaged O-ring or seal, limescale build-up and a worn valve seat. Regular plumbing maintenance can help you spot dripping taps, loose fittings, and other developing plumbing problems before they become more serious.
- Worn Washer: A worn or flattened washer may no longer seal properly, allowing water to continue dripping after the tap is turned off.
- Damaged O-ring: A cracked or worn O-ring can allow water to leak around the tap handle, base or spout.
- Faulty Cartridge: A damaged cartridge can prevent a mixer or ceramic disc tap from shutting off the water completely.
- Worn Valve Seat: Damage or corrosion around the valve seat can cause the tap to keep dripping even after a washer is replaced.
- Limescale Build-up: Limescale can collect around internal components and prevent valves, cartridges or seals from closing properly.
- Loose or Worn Internal Parts: Loose fittings, seals or screws inside the tap can allow small amounts of water to escape and cause a persistent drip.
How to Find the Source of a Dripping Tap?
To find the source of a dripping tap, check exactly where the water appears. The location of the leak can help identify whether the problem comes from the washer, cartridge, seal, valve or pipe connection.
| Where the Water Appears | Likely Cause | What to Check |
| Dripping from the spout | Worn washer, faulty cartridge or damaged valve | Identify the tap mechanism and check whether the internal valve closes fully. |
| Leaking around the handle | Worn O-ring, seal or valve component | Check where moisture first appears around the handle before dismantling the tap. |
| Leaking around the tap base | Damaged base seal, O-ring or loose fitting | Check the seal around the base and make sure the tap fittings are secure. |
| Leaking underneath the sink | Loose connection, flexible hose or isolation valve | Check the tap connections, hoses and isolation valves for visible moisture. Some leaks may require additional plumbing services rather than a tap repair. |
| Dripping after the tap is fully turned off | Washer or cartridge not sealing correctly | Inspect and replace the worn washer or cartridge. If the problem remains, check the valve seat. |
What Do You Need to Fix a Dripping Tap?
To fix a dripping tap, you usually need a few basic hand tools and the correct replacement part for your tap. The exact tools can vary depending on whether the tap uses a washer, O-ring or cartridge.
- Flat-Head Screwdriver: To remove decorative caps or certain retaining screws.
- Cross-Head Screwdriver: For removing tap handles secured with cross-head screws.
- Replacement Washer: Needed for many traditional compression taps.
- Replacement O-ring or Seal: Required if water is leaking around the handle, base or internal fittings.
- Replacement Cartridge: Commonly needed for mixer taps and quarter-turn taps.
- Cloth or Towel: Helps protect the tap finish and catches any remaining water.
- Small Container: Useful for keeping screws, washers and small fittings together.
- Suitable Silicone Grease: Can help lubricate compatible O-rings and seals during reassembly.
FixWell Plumbing Tip: Always confirm the cartridge type and measurements before buying a replacement. Mixer tap cartridges can look very similar but differ in size, fitting and design, so choosing the wrong one may mean it will not fit or stop the drip properly.
How To Fix a Dripping Tap?
To fix a dripping tap, turn off the water supply, remove the tap handle and internal mechanism, inspect the washer, O-ring or cartridge, replace the damaged part and reassemble the tap. However, the exact repair depends on the type of tap and the component causing the leak.
Step 1: Turn Off the Water Supply
Close the isolation valve under the sink before taking the tap apart. If there is no isolation valve, turn off the main water supply.
Step 2: Remove the Tap Handle
Remove the decorative cap if there is one, undo the retaining screw and carefully lift off the tap handle. Keep each part in order so you can refit it correctly. Avoid forcing the handle, as this can damage the finish or internal fittings.
Step 3: Remove the Internal Tap Mechanism
Use a suitable spanner to loosen and remove the valve, cartridge or internal tap assembly. Turn the fitting carefully and support the tap where needed so you do not place unnecessary pressure on the tap body or connected pipework. Once the mechanism is loose, lift it out carefully and keep the parts in the order they were removed. This gives you access to the washer, O-ring, cartridge or other internal component responsible for controlling the water flow.
Step 4: Inspect the Washer, O-Ring or Cartridge
Check the internal components for visible wear, cracks, flattening, stiffness, limescale or other damage.
- Washer: Look for splitting, flattening or excessive wear.
- O-ring: Check for cracks, stretching or deterioration.
- Cartridge: Look for damage, worn seals, stiffness or heavy limescale build-up.
Step 5: Replace the Faulty Part
Replace the damaged washer, O-ring, seal or cartridge with a matching part. Check the size and type carefully before fitting the replacement. Make sure the new component sits correctly in position, as a poorly fitted part can cause the tap to continue dripping.
Step 6: Reassemble the Tap
Refit the internal mechanism, retaining nut, handle and decorative cover in the correct order. Tighten each part securely, but avoid overtightening because this can damage threads, seals or ceramic components.
Step 7: Turn the Water Supply Back On
Restore the water supply slowly and allow the tap to run briefly. Turn it on and off several times to check that the internal mechanism moves correctly. Check around the spout, handle, base and connections for any signs of leaking.
Step 8: Check Whether the Dripping Has Stopped
Turn the tap off fully and watch the spout for a few minutes. If the water stops dripping, the repair worked. If the tap still drips after replacing the washer, O-ring or cartridge, the valve seat, cartridge housing or tap body may be damaged. In that case, further repair or complete tap replacement may be needed.
How Do You Fix a Dripping Tap With a Washer?
To fix a dripping tap with a washer, remove the valve, replace the worn washer with the correct size and check the valve seat before reassembling the tap. A traditional compression tap usually relies on a rubber washer to close the water flow.
- Remove the Tap Head: Take off the handle and expose the valve.
- Remove the Valve: Unscrew it carefully with a suitable spanner.
- Check the Washer Size: Match the diameter and thickness with the original washer.
- Inspect the Valve Seat: Look for corrosion, roughness or limescale.
- Fit the New Washer: Secure the correct replacement in position.
- Reassemble the Tap: Refit the valve and handle.
- Test the Repair: Restore the water supply and check whether the drip has stopped.
Expert Tip: If replacing the washer does not stop the dripping, inspect the valve seat for wear, corrosion or damage, as it may no longer allow the washer to form a watertight seal.
How To Fix a Dripping Mixer Tap?
To fix a dripping mixer tap, remove the existing cartridge or ceramic valve, identify the correct replacement and fit it in the same position. Most modern mixer taps use a ceramic cartridge rather than a traditional rubber washer.
- Isolate Both Water Supplies: Turn off the hot and cold water.
- Remove the Tap Handle: Take off the handle to access the cartridge.
- Remove the Retaining Nut: Loosen the nut or fixing ring carefully.
- Remove the Cartridge: Note its position before lifting it out.
- Match the Replacement: Compare the size, height, spline and fixing points.
- Fit the New Cartridge: Install it in the same orientation as the original.
- Reassemble the Tap: Refit the retaining nut and handle.
- Test the Repair: Restore both water supplies and check for dripping.
Tip: Keep the old cartridge until you have confirmed that the replacement matches its dimensions and connections.
What Should You Do if the Tap Still Drips After Repair?
If the tap still drips after repair, the problem may be with the valve seat, seals, fitting or the replacement part itself.
- Confirm the replacement fits correctly: Check that the part matches the original dimensions and sits properly.
- Inspect the sealing surface: Damage where the washer or cartridge closes can prevent a watertight seal.
- Check the assembly: Make sure components have returned to their correct position and are not cross-threaded or overtightened.
- Inspect the tap body: Corrosion, cracking or internal wear may make further component replacement ineffective.
- Consider replacement: If several parts are worn, replacing the complete tap may be more practical.
FixWell Plumbing Tip: If you have replaced the correct part and the tap still drips, avoid repeatedly tightening the fittings. Overtightening can damage seals, threads or the tap body.
When Should You Replace a Leaking Tap Instead of Repairing It?
You should replace a leaking tap when the tap body is damaged, internal parts are badly worn or repeated repairs no longer stop the leak. Replacement can also make more sense when suitable parts are difficult to find.
- The tap body is cracked or corroded: Structural damage usually makes repair unreliable.
- The leak keeps returning: Repeated dripping after several repairs can indicate wider internal wear.
- Replacement parts are unavailable: Older or discontinued taps may use cartridges or fittings that are difficult to source.
- Several components are worn: Replacing multiple internal parts may cost more time and effort than fitting a new tap.
- The tap feels loose or difficult to operate: Stiff handles, movement at the base or worn mechanisms can indicate that the tap is reaching the end of its useful life.
FixWell Plumbing Tip: If you are replacing several parts and the tap still leaks, compare the repair cost with the cost of a new tap before carrying out further work. If you are unsure which option makes more sense, get a quote from FixWell Plumbing for professional advice.
Can You Fix a Dripping Tap Yourself?
Yes, you can often fix a minor dripping tap yourself if you can isolate the water safely, dismantle the tap without forcing seized parts and identify the correct replacement component. DIY repair may be suitable when:
- The leak is minor: The tap only drips from the spout, and there is no sign of a larger plumbing fault.
- You can isolate the water: The local isolation valve or main stopcock works correctly.
- The tap can be dismantled safely: The handle, valve or cartridge can be removed without forcing seized parts.
- You can identify the correct replacement part: The new washer, seal or cartridge matches the existing component.
When Does a Dripping Tap Need a Plumber?
A dripping tap needs a plumber when the leak continues after a basic repair, the water cannot be isolated safely, or the tap has damaged internal parts that are difficult to replace.
- The dripping continues after repair: A damaged valve seat, cartridge housing or tap body may be causing the leak.
- The tap is badly corroded or seized: Forcing old fittings can damage the tap or connected pipework.
- Water is leaking below the sink: The problem may involve flexible hoses, isolation valves or pipe connections rather than the tap itself.
- You cannot turn off the water supply: Do not dismantle the tap if the isolation valve or stopcock is not working properly.
- The leak is getting worse: A growing or uncontrolled leak may become a serious plumbing emergency if water starts spreading around the property.
- You cannot identify the fault confidently: A plumber can inspect the complete tap and determine whether another repair or full replacement is appropriate.
What Do We Check When Inspecting a Dripping Tap?
When inspecting a dripping tap, we inspect where the water is escaping, the condition of the internal mechanism, the valve seat, isolation valve, nearby pipe connections and any signs of previous repair. These checks help us decide whether the tap needs a simple part replacement, further repair or complete replacement.
- Leak Location: We check whether water is coming from the spout, handle, base or underneath the sink.
- Tap Mechanism: We identify whether the tap uses a washer, cartridge or ceramic valve.
- Internal Condition: Worn components, corrosion, stiffness and limescale are checked inside the tap.
- Valve Seat: The sealing surface is checked for wear or damage that could stop the tap from closing properly.
- Isolation Valve: We make sure the water supply can be isolated safely before carrying out any repair.
- Pipe Connections: Flexible hoses, fittings and nearby pipework are checked for moisture or signs of leaking.
- Previous Repairs: We look for incorrect parts, overtightening or damage caused by earlier work.
- Repair or Replacement: The overall condition of the tap helps us decide whether repair is worthwhile or replacement makes more sense.
Conclusion
A leaking tap is usually caused by a worn washer, faulty cartridge, damaged seal, limescale or wear inside the valve. In many cases, the problem can be fixed by identifying the correct tap mechanism and replacing the damaged component. The key is to diagnose the leak properly before replacing parts. If the tap still drips after a basic repair, or the valve seat, cartridge housing or tap body is damaged, further repair or complete replacement may be needed. If you want a plumber to inspect or repair a dripping tap, FixWell Plumbing provides professional tap repairs and replacements across Ealing and nearby West London areas. We can identify the cause, replace faulty components and advise whether repair or tap replacement is the better option. Contact us to arrange an inspection or request a quote.
FAQs
Can you temporarily stop a dripping tap?
Yes. You can temporarily stop a dripping tap by turning off the isolation valve that supplies water to it. This stops the water flow until you can replace the worn washer, cartridge, seal or other faulty part.
Is a dripping tap an emergency?
A dripping tap is not usually a plumbing emergency, but it should still be repaired before the leak gets worse. If water starts leaking heavily, spreads around the sink or pipework, or you cannot isolate the supply, contact a plumber as soon as possible.
How long does it take to fix a dripping tap?
A simple DIY repair can take around 15 to 45 minutes. A professional repair may take 30 minutes to 2 hours, depending on the tap type, access, corrosion and whether replacement parts are needed.
Why is my new tap already dripping?
A new tap may drip because of a loose fitting, damaged seal, faulty cartridge, debris inside the valve or an installation issue. If tightening the connections does not stop the leak, check the internal parts or contact the installer before replacing anything.
Why does my tap drip even when the handle is fully closed?
A tap can keep dripping when fully closed if the washer, cartridge, seal or valve seat is worn or damaged. These parts control the water flow, so if they no longer seal properly, a small amount of water can continue passing through the tap.