Are you tired of carrying heavy watering cans through the house or stretching a hose from an indoor tap whenever you need water outside? These everyday tasks can quickly become inconvenient, messy and time-consuming.
That is where an outdoor tap installation can help. It provides direct access to water for gardening, washing the car and cleaning patios or tools. However, incorrect fitting can cause leaks, frozen pipework and water contamination risks.
Before arranging the work, you should understand the likely costs, installation process and relevant UK requirements. At FixWell Plumbing, we provide reliable local plumbing support in Ealing and nearby areas, helping homeowners install safe, convenient and dependable outdoor taps.
Key Takeaways
- Outdoor tap installation is the process of fitting a tap to an external wall and connecting it to a property’s internal cold-water supply for convenient outdoor use.
- The best outdoor tap location is usually an external wall close to a cold-water supply and within easy reach of the areas you use most.
- Outside tap installation costs depend on the tap type, location, amount of pipework and complexity of the connection.
- An outside tap is usually installed by connecting it to a cold-water supply, fitting an isolation valve and backflow protection, securing the pipework and checking for leaks.
- Poor positioning, missing backflow protection, unsuitable fittings and unprotected pipework are among the most common outdoor tap installation mistakes.
Why Is Outdoor Tap Installation Important?
Outdoor tap installation is important because it provides convenient access to water outside and helps you complete gardening, washing and cleaning tasks more efficiently.
- Convenient Water Access: Fill watering cans, buckets and other containers directly outdoors.
- Easier Garden Maintenance: Connect a hose for watering plants, lawns and garden beds.
- Faster Outdoor Cleaning: Wash patios, bins, tools, furniture and vehicles close to where you use them.
- Less Indoor Mess: Keep wet hoses, muddy equipment and dirty containers away from kitchens and bathrooms.
- Separate Water Control: Use an internal isolation valve to shut off the outdoor supply without affecting the rest of your home.
Where Is the Best Place to Install an Outdoor Tap?
The best place to install an outdoor tap is on an accessible external wall close to an internal cold-water pipe, usually near a kitchen or utility room. Consider the following points before choosing the final position:
- Nearby Cold-Water Pipe: Choose a wall near the existing supply to keep the pipe run short and reduce installation effort.
- Convenient Outdoor Access: Position the tap near the garden, driveway or patio where you will use it most often.
- Suitable Mounting Height: Install a tap high enough to connect a hose and place a bucket or watering can underneath.
- Safe Distance from Electrics: Keep the tap and hose away from outdoor sockets, lighting connections and electrical equipment.
- Effective Drainage: Make sure spilt water can drain away without collecting against the wall or foundations.
- Accessible Isolation Valve: Place the internal shut-off valve where you can reach it easily for maintenance or winter drainage.
- Secure Wall Surfaces: Mount the tap on a stable section of brickwork or masonry that can support the fitting and pipework.
What Type of Outdoor Tap Should You Choose?
The different types of outdoor taps include standard bib taps, lever-operated taps, frost-resistant taps, lockable taps, hot and cold mixer taps, and decorative taps.
1. Standard Bib Tap
A standard bib tap provides a single outdoor water outlet with a threaded connection for attaching a garden hose. Choose this type for routine tasks such as watering plants, filling buckets, cleaning patios and washing vehicles. Its simple mechanism makes it affordable, durable and easy to replace.
2. Lever-Operated Outdoor Tap
A lever-operated tap allows you to control the water with a short movement instead of turning a traditional wheel head. It works well for frequent use and may suit people with limited hand strength. The lever also makes it easy to see whether the tap is open or closed.
3. Frost-Resistant Outdoor Tap
A frost-resistant tap reduces the chance of trapped water freezing inside the fitting during cold weather. Consider this model for exposed walls or areas that receive little shelter. You should still insulate vulnerable pipework and follow the manufacturer’s winter-care instructions.
4. Lockable Outdoor Tap
A lockable tap restricts access to the outdoor water supply. It provides additional control in front gardens, shared spaces, rental properties and publicly accessible areas. The locking mechanism can also help prevent accidental use by children.
5. Hot and Cold Mixer Tap
A mixer tap combines hot and cold supplies, allowing you to adjust the water temperature outside. It can help with washing pets, cleaning equipment or completing tasks that need warm water. This option requires additional pipework, so installation usually costs more than a cold-only tap.
6. Decorative Outdoor Tap
A decorative tap adds visual interest to a garden wall without removing practical access to water. Polished brass, antique-style and shaped designs can complement traditional gardens or landscaped areas.
From our experience, a good-quality brass bib tap meets the needs of most households. A plumber can check your water pressure, tap position and intended use before recommending the most suitable option.
How Is an Outdoor Tap Installed?
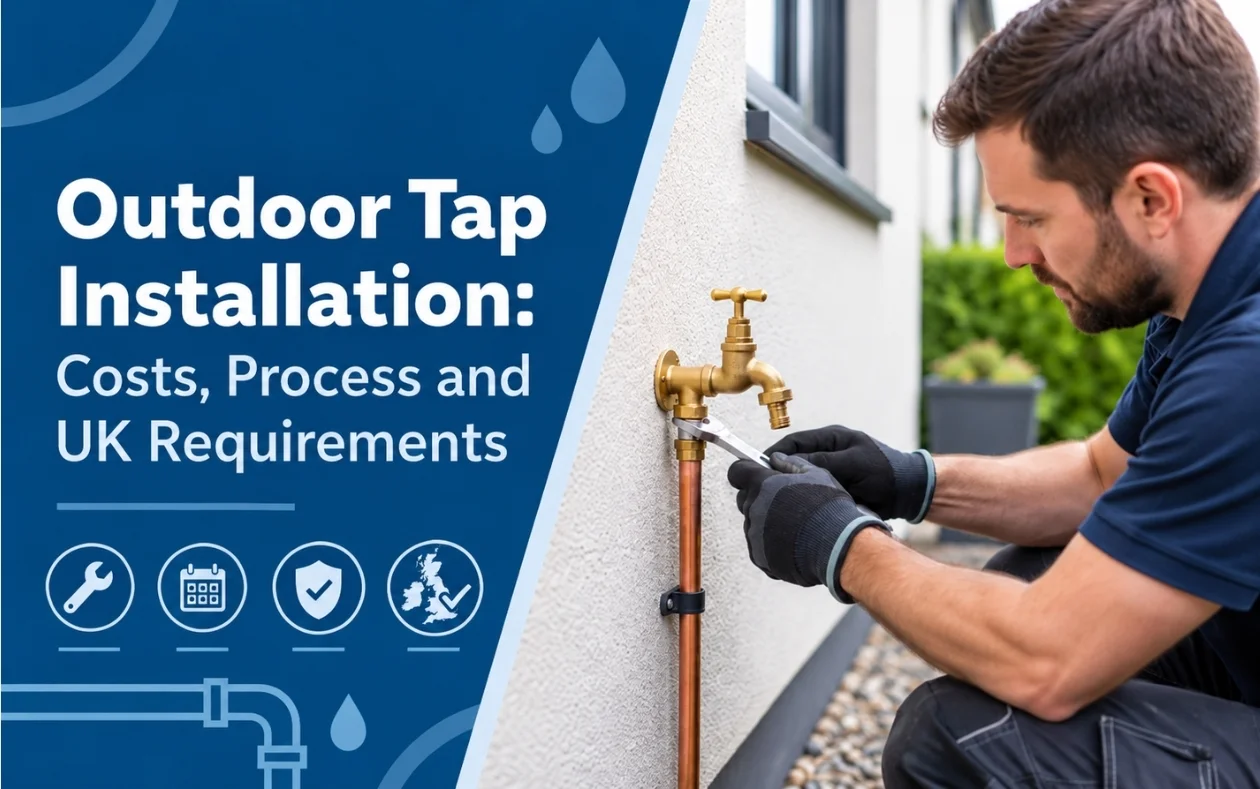
A plumber installs an outdoor tap by connecting new pipework to a suitable water supply, routing it through the external wall and securing the tap outside. The installation also includes the necessary control and protection fittings before the system is tested for leaks and water flow.
1. Choose the location: Select an accessible wall close to an internal cold-water pipe.
2. Turn off the water: Shut off the supply and drain the pipework.
3. Connect the pipe: Create a separate cold-water feed for the outdoor tap.
4. Fit safety valves: Add an isolation valve and suitable backflow protection.
5. Route the pipe outside: Pass the pipe through the wall and seal the opening.
6. Mount the tap: Secure the tap and connect it to the new pipe.
7. Test the installation: Restore the water and check the tap for leaks and proper flow.
How Much Does Outdoor Tap Installation Cost?
Outdoor tap installation in the UK typically costs between £120 and £200 depending on materials and labour. A standard installation usually includes the tap, basic fittings and a connection to a nearby cold-water supply.
| Type of Installation | Estimated Cost | What It Usually Includes |
|---|---|---|
| Standard outdoor tap | £120–£200 | Tap, short pipe run, standard fittings and labour |
| Installation with a longer pipe run | £150–£250 | Additional pipework, clips and labour |
| Connection to the rising main | £150–£300 | New connection, supply isolation and extra plumbing work |
| Frost-resistant tap upgrade | £20–£60 extra | Upgraded tap and additional fittings |
| Hot and cold mixer tap | £150–£250+ | Connections to both supplies and a mixer fitting |
Notes: These figures provide general UK estimates rather than fixed prices. Labour rates in London and the condition of your existing pipework can affect the final quotation.
What Affects the Cost of Installing an Outdoor Tap?
The cost of installing an outdoor tap depends mainly on the location of the water supply, the amount of pipework required and the complexity of the job.
1. Distance from the water supply: A tap close to an accessible cold-water pipe requires less labour and fewer materials.
2. Access to existing pipework: Pipes hidden behind kitchen units, walls or flooring can make the work more time-consuming.
3. Type of outdoor tap: Standard cold-water taps usually cost less than frost-resistant, lockable or mixer models.
4. Length of the pipe run: Longer routes require additional pipework, fittings and installation time.
5. Wall construction: Thick brick, stone or difficult wall materials may require specialist drilling equipment.
6. Hot and cold connections: A mixer tap requires connections to both supplies, increasing labour and material requirements.
7. Isolation and backflow protection: The installation may need additional valves and fittings to provide safe control and protect the water supply.
FixWell Plumbing tip: Share photos of the proposed tap location and nearby cold-water pipe when requesting a quote. This helps the plumber estimate the work more accurately. For a property-specific price, contact FixWell Plumbing.
What UK Requirements Apply to Outdoor Tap Installation?
The UK requirements for outdoor tap installation include complying with the Water Supply (Water Fittings) Regulations 1999, using suitable fittings, preventing backflow, and protecting pipework from leaks, frost, and contamination.
- The outside tap installation must comply with the Water Supply (Water Fittings) Regulations 1999, including requirements to prevent contamination, avoid water waste, and use suitable water fittings.
- The outdoor tap must have suitable backflow protection to stop contaminated water from a hose or garden equipment entering the mains water supply.
- The tap, pipes and fittings must use materials suitable for water systems.
- The pipework and connections must remain secure and watertight to reduce leaks and water waste.
- Exposed pipework should have protection from frost and physical damage, especially where pipes run outside.
- The level of backflow protection must match the contamination risk associated with how the tap and connected hose or equipment will be used.
How Can You Protect an Outdoor Tap From Freezing?
You can protect an outdoor tap from freezing by disconnecting the hose, isolating the water supply, draining the external pipework and insulating exposed sections.
Disconnect the Hose: Remove any connected hose so water does not remain trapped inside the tap or pipework.
Shut Off the Outdoor Supply: Use the internal isolation valve to stop water reaching the tap during freezing conditions.
Drain the Pipework: Open the outdoor tap after isolation to release any remaining water.
Insulate Exposed Pipes: Protect vulnerable external pipework with suitable weather-resistant insulation.
Use an Insulated Tap Cover: A cover can provide additional protection during periods of frost.
Repair Drips Promptly: A leaking tap can leave water inside the fitting, increasing the risk of frost damage. Regular plumbing maintenance can help identify these issues early.
FixWell Plumbing Tip: Check the isolation valve and exposed pipework before winter so you know the outdoor supply can be shut off and drained when temperatures fall.
Common Outdoor Tap Installation Mistakes
Common outdoor tap installation mistakes include choosing a poor location, missing essential valves, using unsuitable fittings and leaving pipes exposed to frost. These problems can cause leaks, contamination or low water flow and may develop into common plumbing emergencies if left unresolved.
1. Choosing the Wrong Location
Installing the tap far from an internal cold-water pipe increases the amount of pipework and labour required. An awkward position can also make the tap difficult to reach or connect to a hose.
2. Missing Backflow Protection
A hose can come into contact with soil, chemicals or dirty water. Without suitable backflow protection, contaminated water could return to the drinking-water supply.
3. Forgetting the Isolation Valve
An internal isolation valve lets you shut off the outdoor supply without turning off water throughout the property. Without one, maintenance and winter drainage become more difficult.
4. Using Unsuitable Fittings
Low-quality or incompatible pipes, taps and connectors can leak or fail under mains pressure. Use fittings designed for the property’s water system and outdoor conditions.
5. Leaving Pipework Exposed to Frost
Water inside an unprotected pipe can freeze, expand and split the pipe. Insulate exposed sections and drain the supply before freezing weather arrives.
6. Failing to Seal and Test the Installation
An unsealed wall opening can allow rainwater into the property. After fitting the tap, seal the opening and test every connection for leaks, pressure and steady flow.
FixWell Plumbing Tip: Check that your outdoor tap has an isolation valve, backflow protection and secure pipework. If it starts leaking, dripping or losing pressure, arrange professional tap repairs and replacements before the problem worsens.
How Do You Choose the Right Plumber for Outdoor Tap Installation?
You can choose the right plumber for outdoor tap installation by checking their experience, insurance, customer reviews and quotation.
- Relevant experience: Ask whether they regularly install outdoor taps and understand pipework at different stages, including first and second fix plumbing.
- Insurance cover: Confirm that they hold valid public liability insurance.
- Clear quotation: The price should include labour, the tap, pipework, valves and testing.
- Correct protection: The plumber should include an isolation valve, backflow prevention and frost protection where required.
- Customer feedback: Look at recent reviews covering reliability, communication and workmanship.
- Final testing: Ensure they test the water flow and every connection before leaving.
FixWell Plumbing provides professional tap installation support across Ealing and nearby areas. Explore our plumbing services to discuss the work you need.
Conclusion
Outdoor tap installation gives you convenient outdoor water access, but the quality of the installation depends on more than simply attaching a tap to the wall. The water connection, tap position, backflow protection and exposed pipework all need proper consideration.
Hiring an experienced plumber also reduces the risk of leaks, contamination and future repairs. If you are planning a new outdoor tap or need an existing one repaired or replaced, FixWell Plumbing can assess the setup and recommend the most suitable option for your property.
Contact FixWell Plumbing today to arrange your outdoor tap installation or request a quote.
FAQs
How long does outdoor tap installation take?
A standard outdoor tap installation usually takes 1 to 3 hours, depending on the tap location, access to the water supply and the amount of pipework required.
Is professional outdoor tap installation worth it?
Yes, professional outdoor tap installation is worth it if you want the tap fitted correctly, with secure connections, suitable backflow protection and less risk of leaks or future repairs.
What should you check before booking installation?
Before installation, you should check the tap location, access to the cold-water supply, required pipework, backflow protection and expected cost.
Can you install an outdoor tap yourself?
Yes, you can install an outdoor tap yourself if you have the right plumbing skills and tools. However, call a professional plumber if you are unsure about the pipe connection, backflow protection or safe installation.
Can a plumber replace an existing outdoor tap?
Yes, a plumber can replace an existing outdoor tap, repair damaged fittings and check the surrounding pipework for leaks or other issues.